Dresses 1 and 2
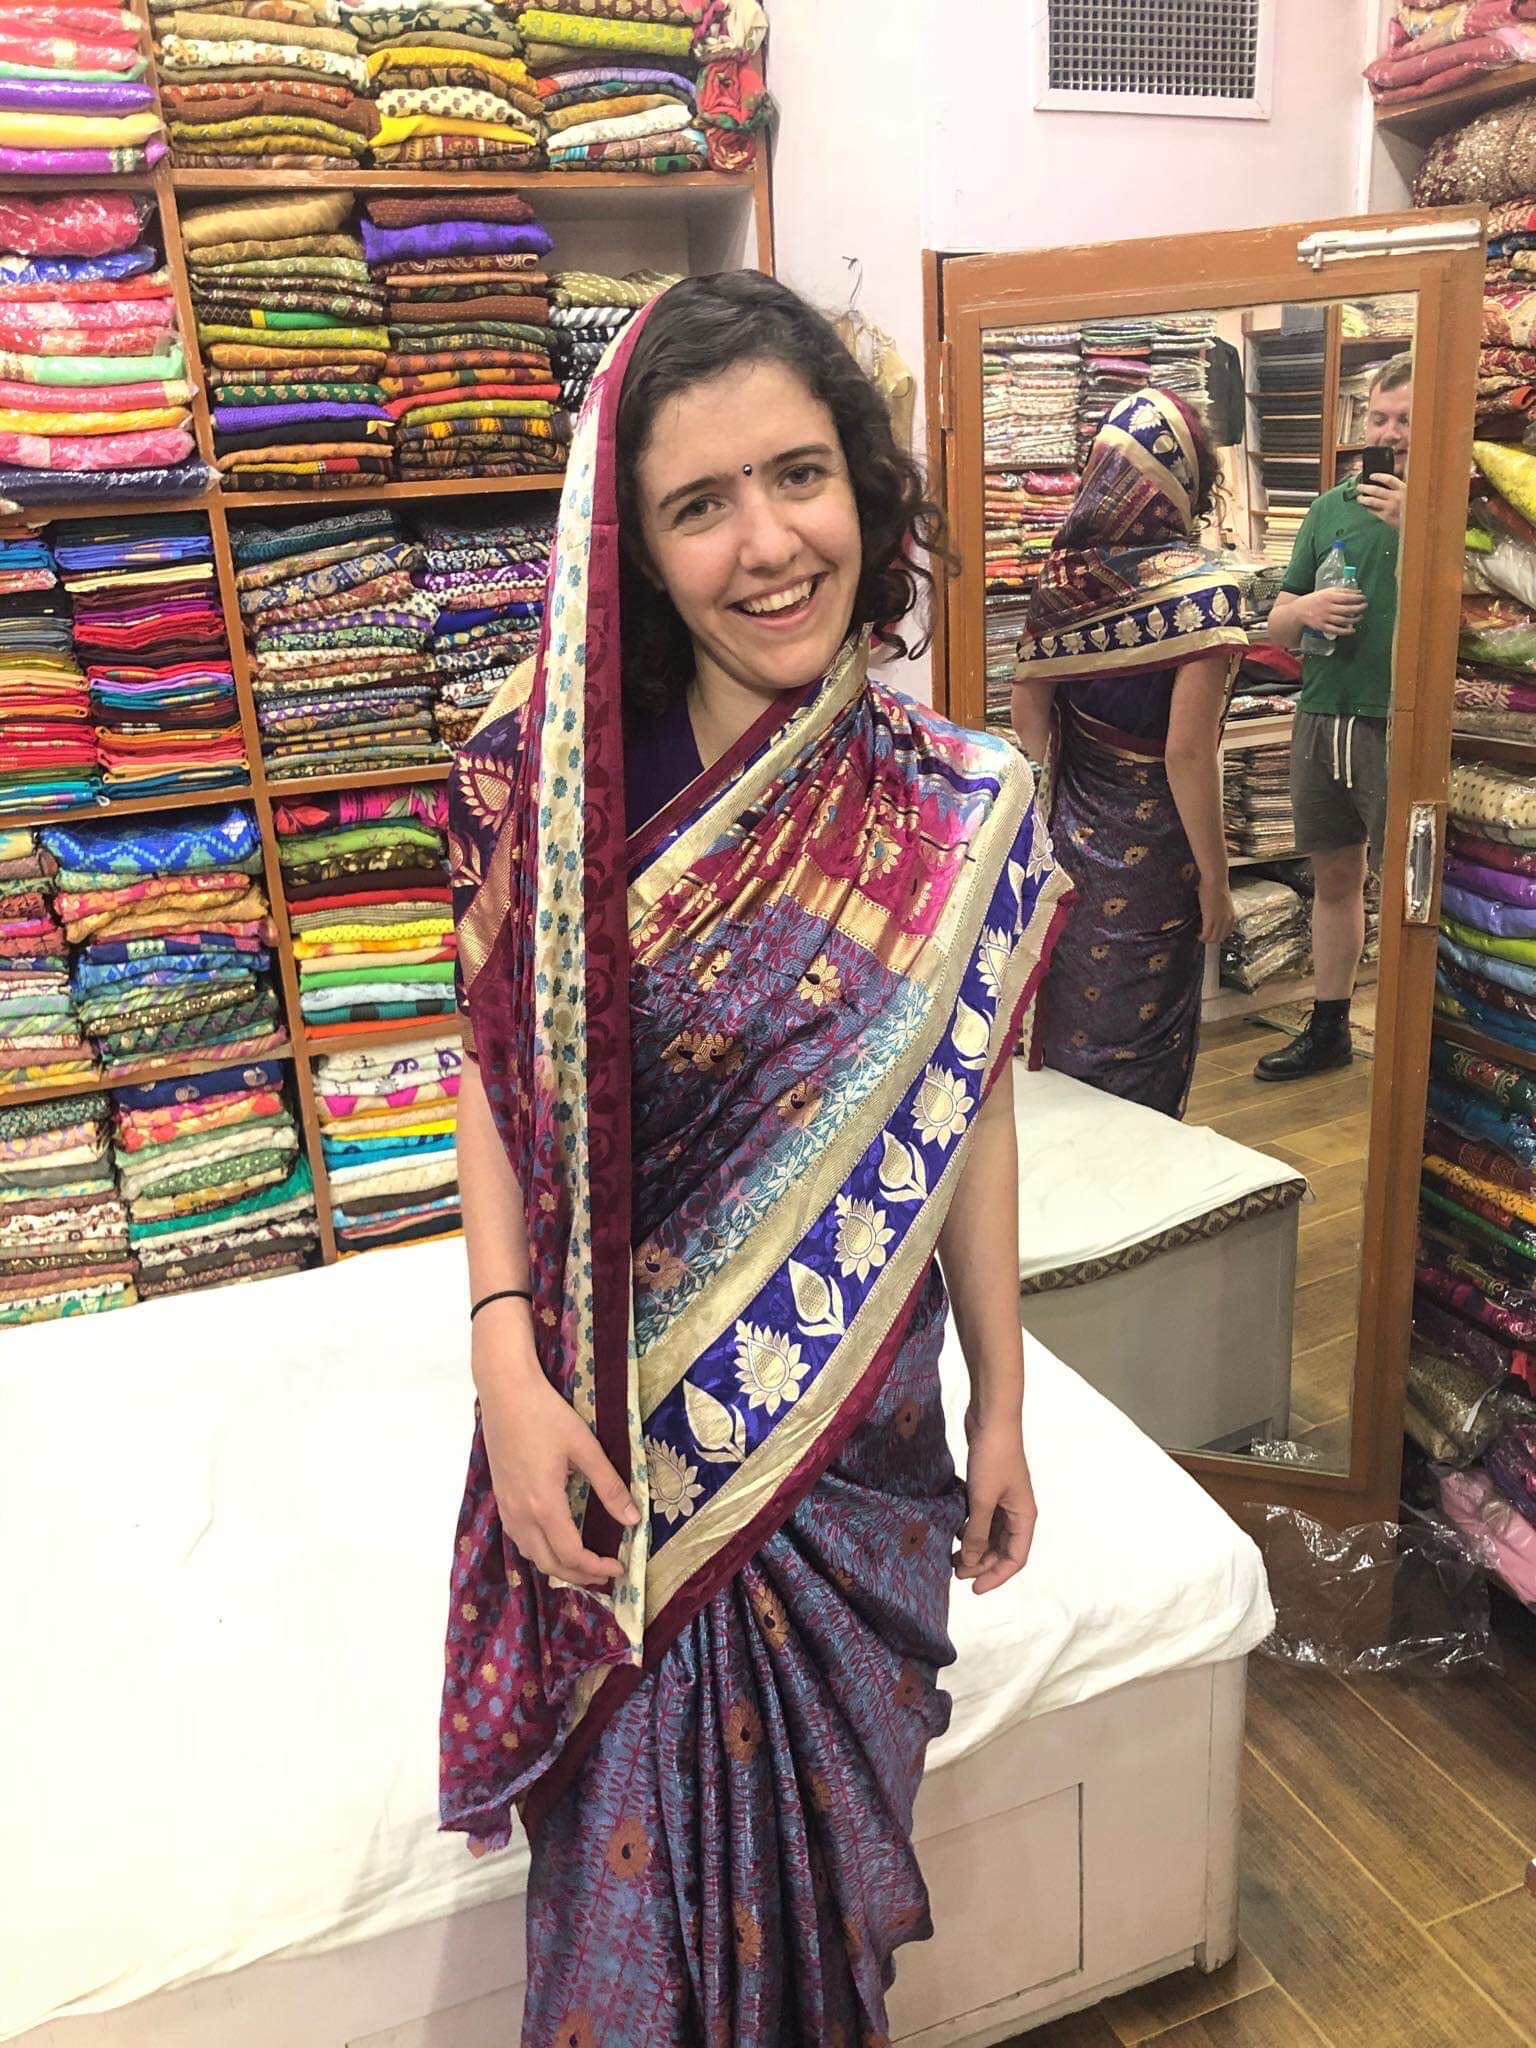
23 May 2020For the past couple of months I’ve been working toward turning this:
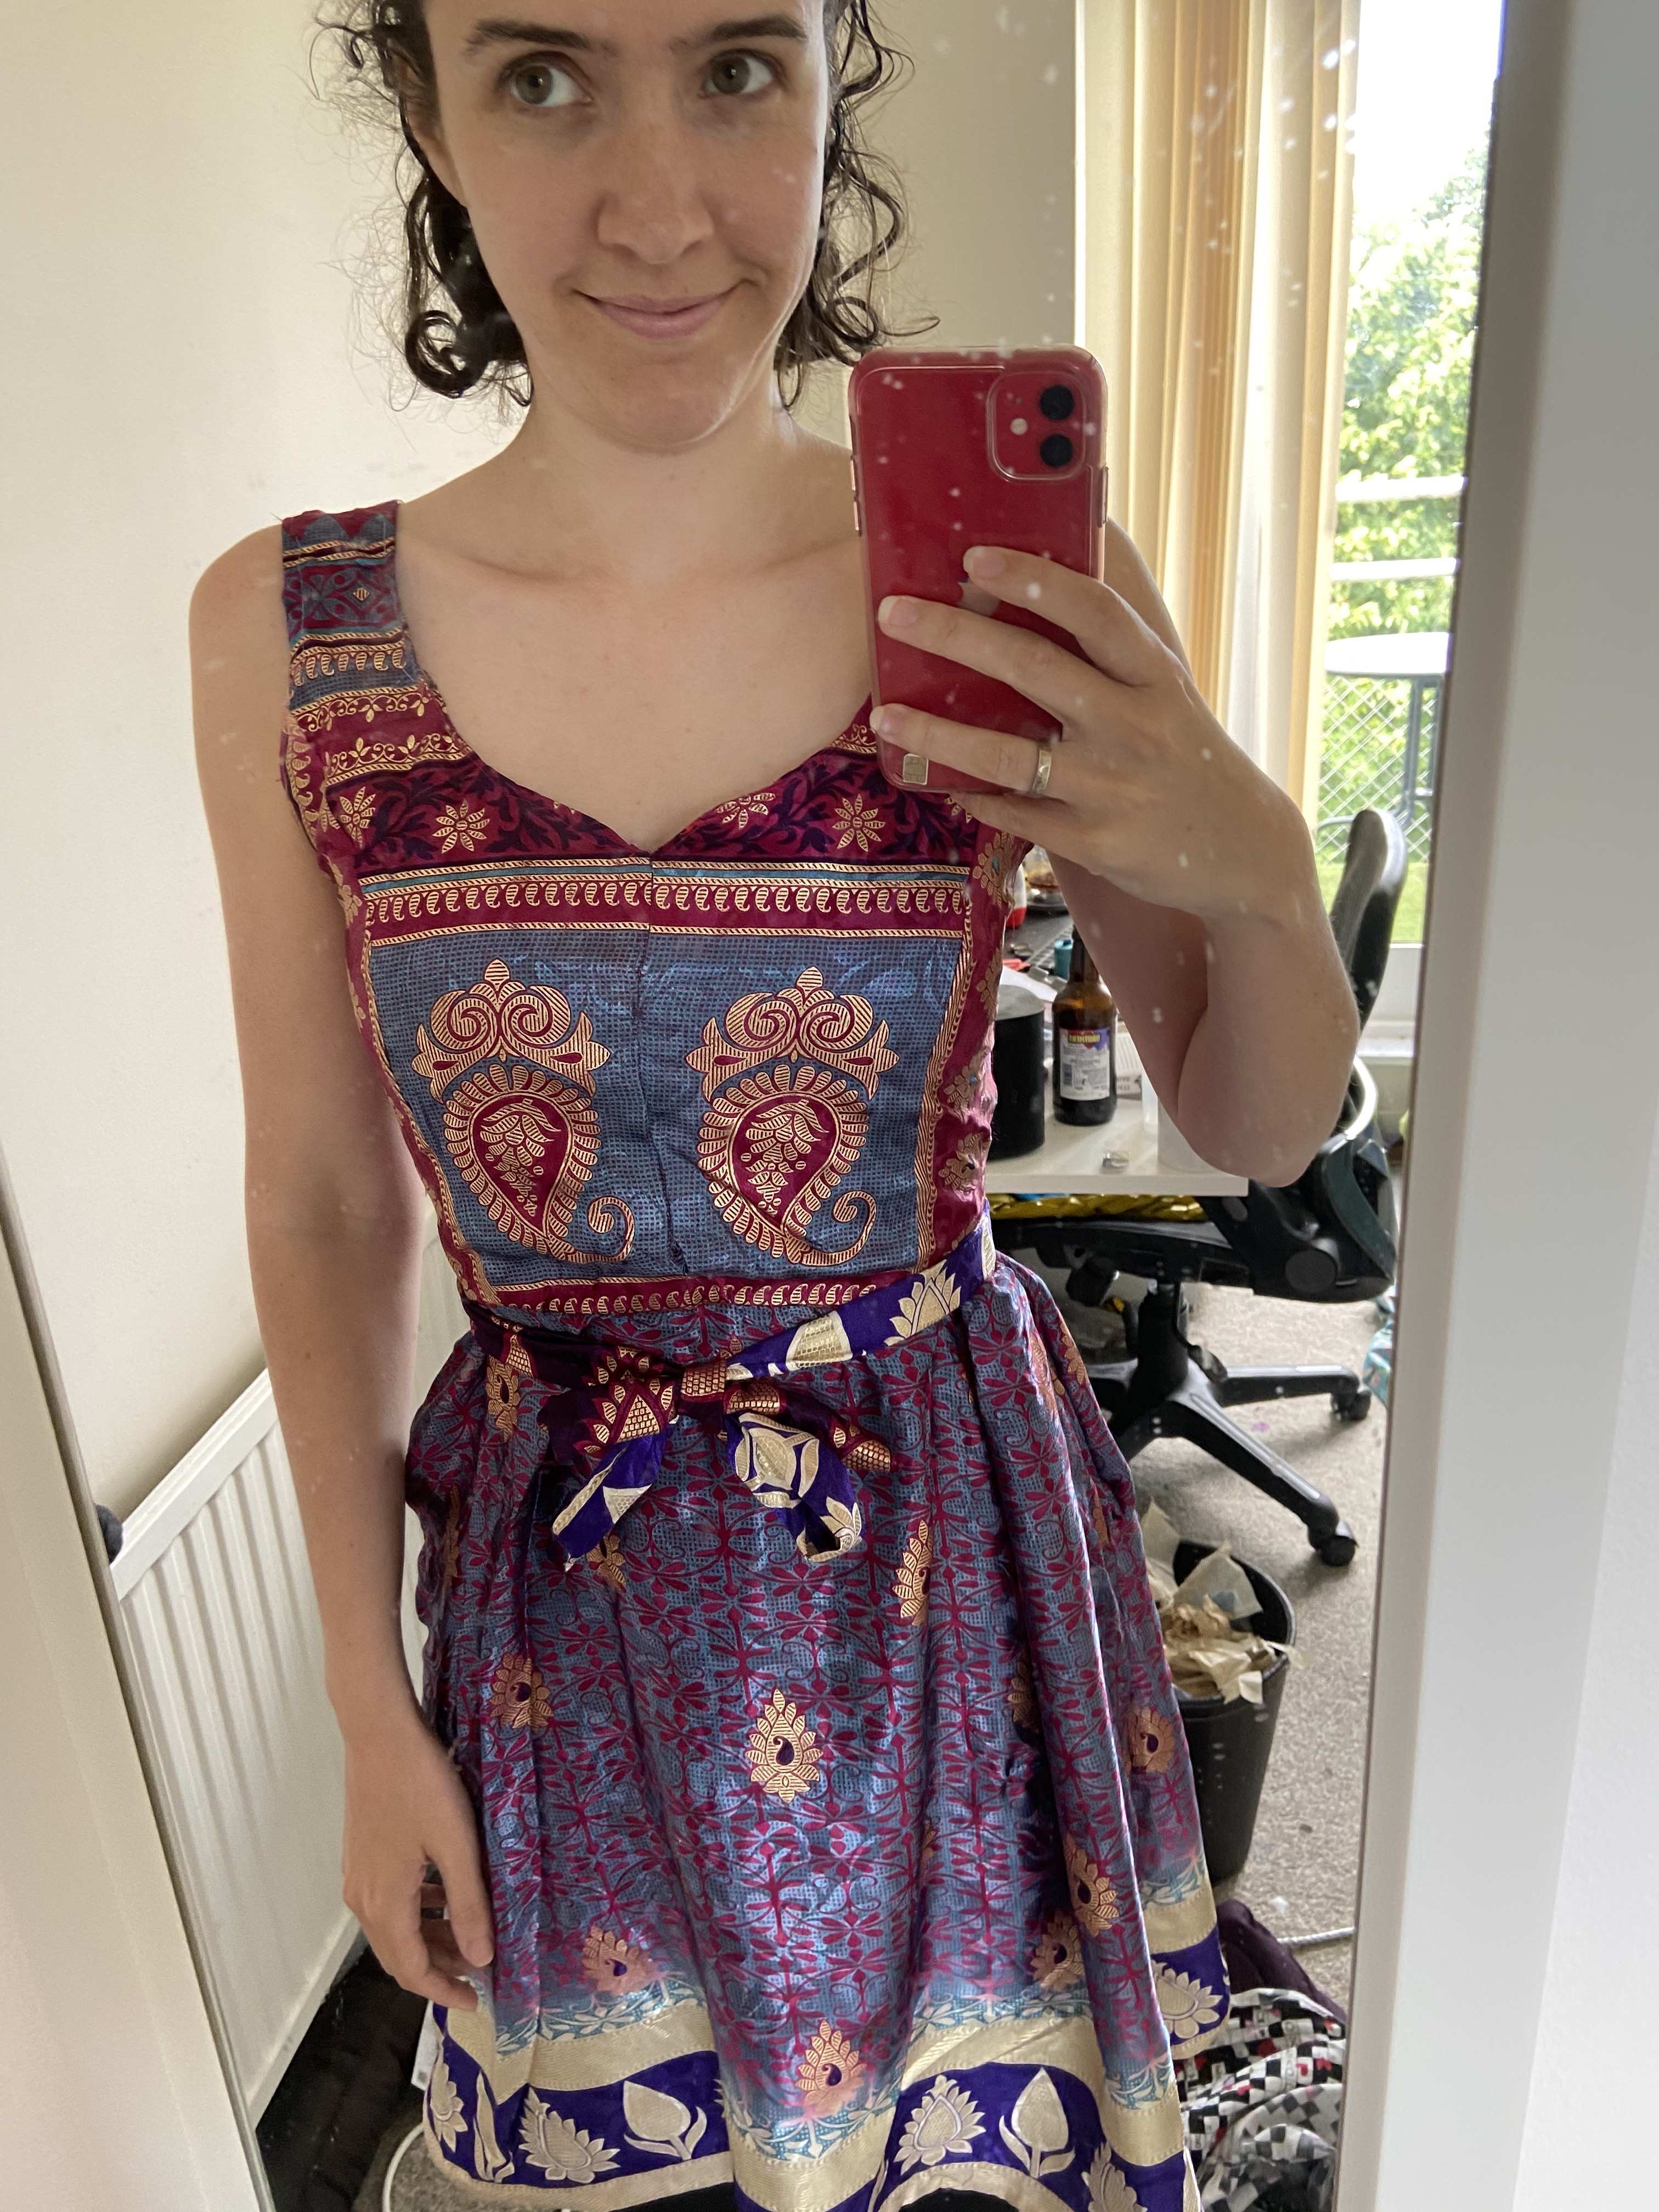
into this…
I don’t think it’s especially interesting to talk through everything that went into this process, but here’s a few things I learned doing this.
If in doubt - test it out.
The thing that felt quite intimidating about this project upfront is that I really love the saree I bought. It’s got many patterns to it, I bought it in India and won’t be going back to get another one any time soon, and having browsed the internet, it’s fairly unique.
So, the idea of cutting it up and inevitably making many, many mistakes was quite intimidating. In order to avoid this and better understand how the pattern would sit when it’s all done, I bought 3 metres of cotton fabric in order to make a test dress which is effectively a run through of the pattern I wanted to use.
Alll donnneeeeeeeee! I had to take a good couple of centimetres off the sides to make it less baggy so guess I’m going to have to size down the pattern but in general, pretty happy with the result! 🥳🥳🥳 pic.twitter.com/iVOa35ePWB
— Charlotte Godley (@charwarz) April 25, 2020
I made many, many mistakes in the process - I sewed seams incorrectly. I didn’t get the fit quite right. I sewed down my lining when it turns out that wasn’t the right way. I interfaced, then un-interfaced my material as I’d realised I’d hemmed my dress too early.
I texted my mum a few times, wanting to confirm the instructions were accurate.
The result was that when it came to cutting up and sewing my saree, I was a lot more confident in how it fitted together and was confident in what I could and could not ignore. I could concentrate on the more interesting bits - choosing the areas of patterns I wanted to use, cutting silk properly. I also knew which bits I could “fix later” and which bits I absolutely had to go slower or undo ASAP.
Do your research
On a wave of over confidence having finished my test dress, I dived straight in and cut my saree on a fold, knowing I had loadsss of it so figured I’d just dive straight in. It did not go well, and I was instantly annoyed with myself for lack of patience and that I now had material I couldn’t use for something better.
it turns out cutting silk is really hard. I’ve cut the front piece of skirt but...it aint straight and I dont think the border/fold is in the right place. Im probably going to redo it sadly + google it a bit. Glad I started with the skirt at one end of the saree, not the middle. pic.twitter.com/18fZlm6ZUV
— Charlotte Godley (@charwarz) April 25, 2020
After this mistake, I researched working with silk and found some steps you might like to follow:
- Wash and iron your material beforehand. I have yet to actually do this because I’m lazy, but I’m planning to do this with my next dress. This reduces shrinkage since you know the post-wash size of your dress when you cut it. Also applies to cotton and any other fabrics which use natural fibers.
- Don’t cut anything on a fold if it’s a slippy fabric. Lots of skirt pieces will tell you to do this - instead, pin your pattern piece onto some tissue or tracing paper on a fold, cut it out and voila, you have a non-fold silk pattern piece.
- Use a cutting table (dining table is fine) covered in tissue paper. This puts some friction between your fabric and the paper, meaning it won’t move around as much. If you’d like more protection against this, you can tape your material down to the paper using masking tape, but be careful when you rip it back up again because the fabric might fray.
- Get yourself some sharp scissors, or a roller cutter (and cutting mat). Everything cuts soooo much better when the blade is sharp. I had varying results with my roller cutter - I didn’t want to press down too hard so sometimes this meant the cut was a little bit…inconsistent - sometimes I’d get one long cut done and then there’d be a couple of fibers still clinging on in places. Anyway, I think this will get a little better once my cutting mat arrives, and I’m definitely a fan of roller cutters.
Step 3 - pray. Quite a lot. I think it came out ok this time - edges are mostly straight (roller cutters are a present from god) and when I compare it against the template there isn’t much shrinkage this time pic.twitter.com/7EuZRPTB1p
— Charlotte Godley (@charwarz) May 1, 2020
- Get the thinnest, sharpest pins and needles you can find. Silk is really, really thin and has many teeny tiny holes in it. Using pins that have a thicker diameter or are dulled on the end is going to leave bigger, noticeable holes and permanent damage. Likewise with machine needles and handsew needles. I bought shwartz microtex machine needles which were £3 and some size 10 sharps handsew needles. I also tested the setup out on some offcuts of silk before I got down to using the machine and found that smaller stitches = less holes and less damaged looking fabric overall.
- Probably don’t bother with handsewing that much. When I first started on my test dress, I handsewed everything before putting it through the machine because I was afraid of breaking pins and wanted to get it all right. Turns out this isn’t really necessary so long as you keep removing the pins as you go, and with silk handsewing, I generally found the handsew stitches came out far too easily and didn’t help too much with the fit. Instead I just used sharp, thin pins to test that sort of thing and endeavoured to remove them as I worked.
Test your fit before you line it
On my cotton test dress, I sewed all the things together and then found it was hugely baggy. So I pulled it in at the last seam I had made.
This meant it just didn’t sit right - the sides are fine, but the front and back are baggy. With my saree dress, I instead took each seam in by a little bit, and adjusted it with pins here and there after trying it on. Since I’d done this before lining it, there wasn’t anything to undo to get to those seams.
Don’t drop threads on the carpet
My office floor (where I do my sewing) is probably 20% carpet, 30% hair and 50% random threads and bits of silk now. I’ve tried hoovering but a lot of the threads just won’t budge.
Check suggested fabrics before you work
I probably should have gone with a pattern that suggested using silk. As it stands I’m noticing a couple of the seams are putting pressure on the fabric, and gathering silk has caused some (not visible) damage.
Still, looks good, and I think so long as I take care of it and monitor those things, it should be good :)